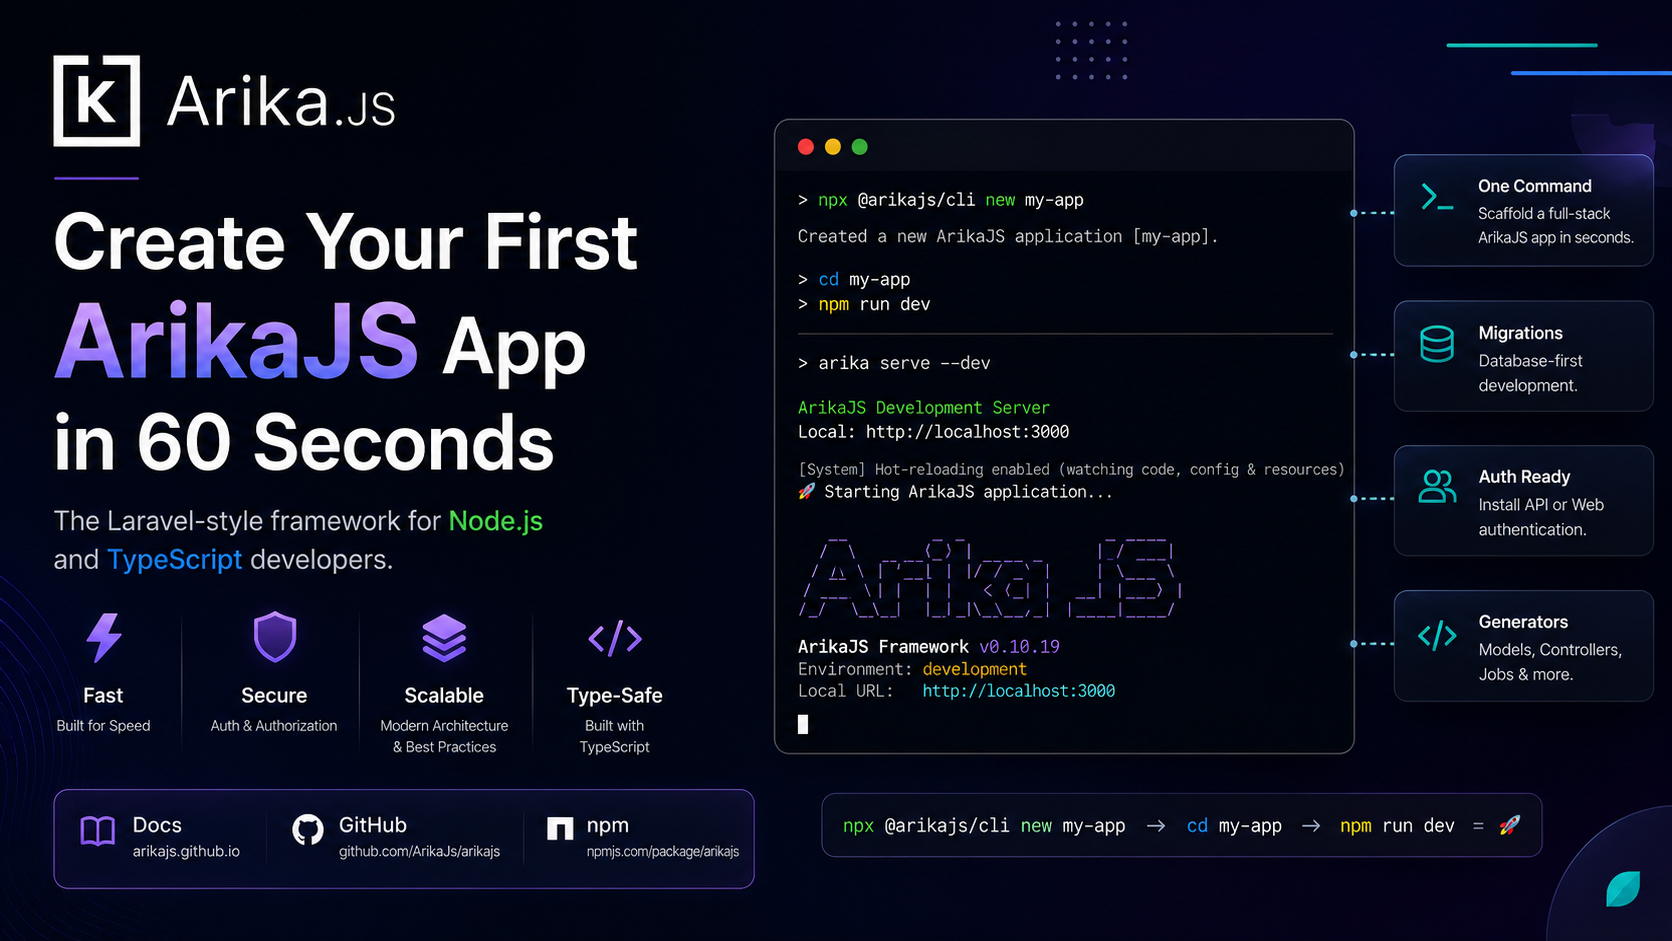
Getting started with a new Node.js framework should not feel like a weekend project.
That is one of the core goals behind ArikaJS: give developers a Laravel-inspired workflow on Node.js and TypeScript, with a CLI that scaffolds a real app quickly — so you can start building features instead of wiring libraries together.
In this guide, you will create a new ArikaJS project, start the development server, and run a few useful next commands. Everything below works with the current npm release (v0.10.x), while the framework continues evolving toward v1.0.
What you need
Before you begin, make sure you have:
- Node.js 20+ installed
- A terminal (macOS, Linux, or Windows with a modern shell)
- Internet access (to download packages from npm)
You do not need to install the CLI globally. The recommended path uses npx, so you always get a recent version of @arikajs/cli.
Step 1: Create a new project
Open your terminal and run:
npx @arikajs/cli new my-app
Replace my-app with whatever project name you prefer.
What this does:
- Creates a new folder with a full ArikaJS application skeleton
- Sets up TypeScript configuration and a sensible project layout
- Includes starter routes, config files, and the files you need to boot the app
- Links you to the framework packages (
arikajs,@arikajs/cli, and friends)
When the CLI asks whether to install dependencies, choose yes if you want the fastest path. If you skip install, run npm install inside the project folder afterward.
Step 2: Enter the project and start the server
cd my-app
npm run dev
Under the hood, npm run dev typically runs the Arika CLI serve command in development mode (hot reload friendly).
When the app boots successfully, you should see something like:
- ArikaJS Development Server
- Hot-reloading enabled
- The purple ArikaJS ASCII banner
- Version info (for example
v0.10.19) - Local URL:
http://localhost:3000
Open that URL in your browser. You should land on the default welcome page for a freshly scaffolded app.
If the server does not start:
- Confirm you are inside the project folder (
my-app) - Confirm dependencies are installed (
npm install) - Confirm port
3000is free, or start with another port if your CLI/serve options allow it
What you just got (project shape)
A new ArikaJS app follows a familiar, Laravel-inspired structure. Exact folders can evolve between versions, but you will typically see:
| Area | Purpose |
|---|---|
app/ |
Application code — controllers, models, middleware, providers |
bootstrap/ |
Application bootstrap / wiring |
config/ |
Configuration files (app, database, auth, mail, etc.) |
database/ |
Migrations and seeders |
routes/ |
web.ts, api.ts, and related route files |
resources/views/ |
Templates (.ark.html views) |
server.ts |
Entry point used by arika serve / npm run dev |
.env |
Environment variables (generated from .env.example) |
You do not need to memorize every file on day one. The important part is: the framework gives you a default path, not an empty folder and a checklist of libraries.
Step 3: Useful next commands
Once the app runs, try a few CLI commands that show what ArikaJS is built for.
Run migrations
arika migrate
This applies pending database migrations. Make sure your .env database settings match your local setup (SQLite is often the easiest for first experiments).
Scaffold authentication
For an API-oriented JWT setup:
arika auth:install:api
For session-based web auth with views:
arika auth:install:web
These commands scaffold config, models, controllers, routes, and related files so you do not start auth from a blank controller.
Tip: Treat them as mutually exclusive per project for your first experiment. Pick web or API depending on what you want to learn first.
Generate a model (and migration)
arika make:model Post --migration
This is the kind of DX ArikaJS aims for — generators that keep you in flow instead of copy-pasting boilerplate.
Other useful generators include controllers, middleware, jobs, and more. Run:
arika list
to see available commands in your installed CLI version.
A minimal mental model
Here is the simplest way to think about ArikaJS after your first app boots:
- CLI creates and maintains the app (
new,serve,migrate,make:*,auth:install:*) - Routes map HTTP requests to controllers/handlers
- Config + providers wire services (database, auth, mail, queue, …)
- Models / migrations handle persistence
- Views (optional) render HTML when you are not building a pure API
You can go deeper later into the monorepo architecture (30+ packages, foundation, service providers). For day one, scaffolding + npm run dev is enough.
Common first-day questions
Do I need Docker?
No. For a first app, local Node + a simple database (often SQLite) is enough.
Global CLI or npx?
npx @arikajs/cli ... is the safest getting-started path. You can install globally later if you prefer:
npm install -g @arikajs/cli
arika new my-app
Is this production-ready?
ArikaJS is published on npm and usable for learning and building. It is still moving toward v1.0, with ongoing improvements and a reference app (FlowBoard) planned to dogfood the full stack. Be honest in your expectations: excellent DX today, active evolution toward a stable major release.
Where do I read more?
- Docs: arikajs.github.io
- GitHub: github.com/ArikaJs/arikajs
- npm: npmjs.com/package/arikajs
What to build next
Once your hello-world app is running, pick one small goal:
- API auth —
arika auth:install:api, then register/login with JSON - Web auth —
arika auth:install:web, then open login/register pages - A simple CRUD model —
make:model+ migration + a controller - A background job — explore
make:joband queue workers when you are ready
Shipping one small vertical slice teaches more than reading every package README.
Closing
Creating an ArikaJS app should feel close to this:
npx @arikajs/cli new my-app
cd my-app
npm run dev
From there, the CLI helps you grow the app — migrations, auth scaffolding, generators — without assembling a custom stack from twenty packages first.
If you try this walkthrough, I would love your feedback: what felt smooth, and what felt missing on the path to your first real feature?

Prakash Tank
Full-Stack Architect & Tech Enthusiast. Passionate about building scalable applications and sharing knowledge with the community.